While shopping in England I came across an adorable button bracelet and I thought "well I could make that"--so I did {with a quick lesson from my Auntie}, and you can too! So now I am sharing the step by step tutorial on how to make this:
And this:
Step One:
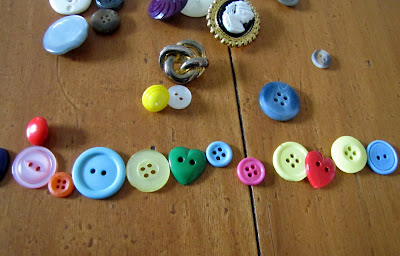
Have fun picking out your favorite buttons and gathering your supplies.
Supply List {see pictures}:
Favorite Buttons
Crimper Tool {purchased at Michaels}
2 Crimp Beads {purchased at Michaels}
2 4mm Jump Rings {purchased at Michaels}
1 Lobster Clasp {purchased at Michaels}
Rope of your choice {be sure it fits in your crimp beads}
Scissors
Step Two:
Once you have gathered all your supplies, place one of the crimp beads on the end of your rope.
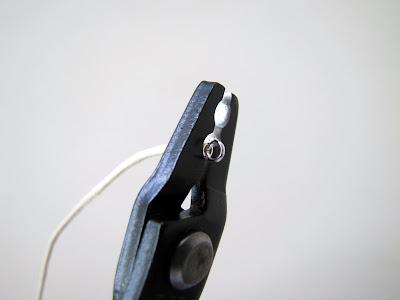
Now, use your crimper tool to "smash" your crimper bead around the rope, securely in place.
Next, attach one of your jump rings to the end of the ring on your crimp bead using your crimper tool {this jump ring is what your lobster clasp will attach to in a future step}.
Measure the length you want your bracelet to be so that you know how many buttons you will need.
STEP THREE:
Begin to thread/attach your buttons by putting the rope up the hole on the bottom side and then down through the top side of each button. I like to leave a bit of space between each button so that they won't overlap.
Continue threading the buttons. So long as you don't choose buttons with large holes, the buttons should stay in place without an adhesive.
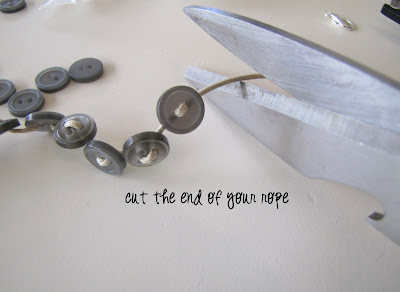
Cut the excess rope and prepare to add your second crimp bead.
Follow the same step for attaching the crimp bead and jump ring on the other side of rope. NOTE: Before closing the second jump ring, be sure to attach your lobster clasp {see next 2 pictures}.
And Wa-La! You have your very own button bracelet with a semi-professional clasp! There you have it--this is about as complicated as my jewelry making will ever get:
Now have fun picking out other fun button bracelet combinations, such as:
OR
OR
The possibilities are ENDLESS...


0 komentar:
Posting Komentar