Do you ever get in a crafting rut? Where you end up making similar things for a little while? I sure do. This can be good and bad. It’s good and economical if you use up materials you have – it’s bad if you end up with 4 or 5 ruffle shirts. Or 5 pairs of earrings. (Can you say Road Trip?? No, I did not show you all the earrings I made in the car. It was frankly ridiculous.)
Well I’m in the mood for pearls right now. Did you see the Follower Giveaway this month? Or what about the Lace and Pearl Bracelet? I really like that bracelet and I thought it would be fun to have a necklace like it. Not sure if I’ll wear them together – I don’t want to go all Madonna-y on you.
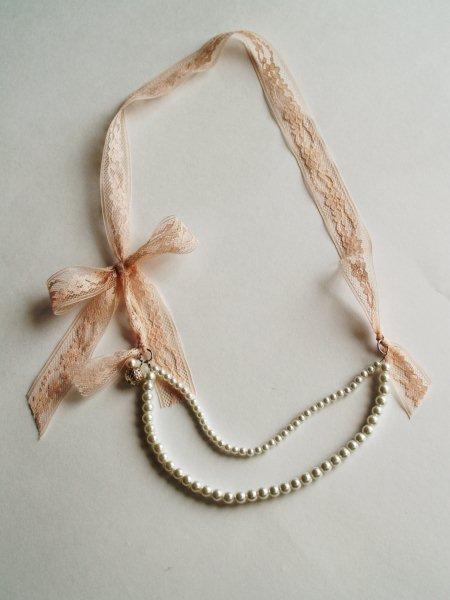
But it’s cute by itself . . .
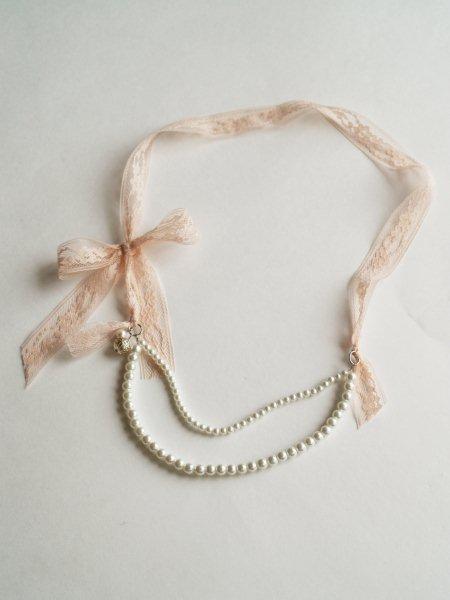
I love the pearls and lace together. :) And I have a quick tutorial for you if you like it too!
(Disclaimer - I am not a jeweler. I am not an expert in all things wire. This is just the way I did it – but if you have a better way, feel free to leave advice in the comment section. I’d love to learn new tips.)
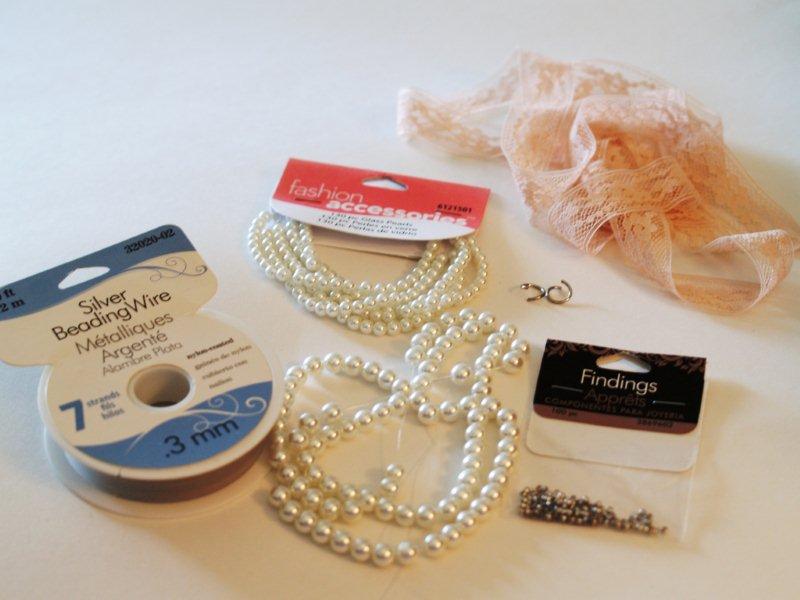
Materials:
- 2 sizes of pearls (I used a small part of these strands)
- hem facing lace (This was left over from the bracelet. So one package will make both!)
- 2 jump rings
- 2 crimp beads
- beading wire
- Optional – 2 other beads and 2 eye pins for embellishment (Not in the picture because they were a last minute add on)
Start by cutting two pieces of beading wire – 9″ and 11″. The strands aren’t this long, but this will give you 1 inch on each side to fold back over.
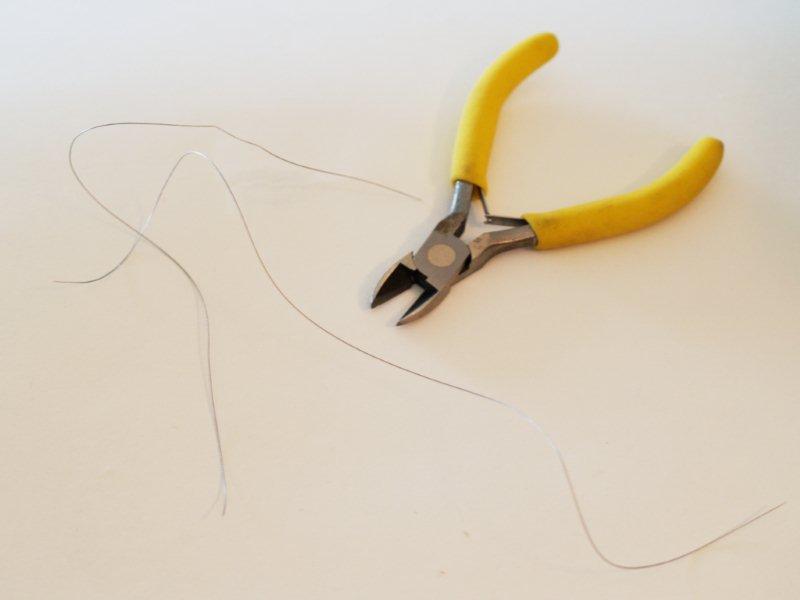
Wire cutters work well for this – but the beading wire is so thin that an old pair of scissors would work as well.
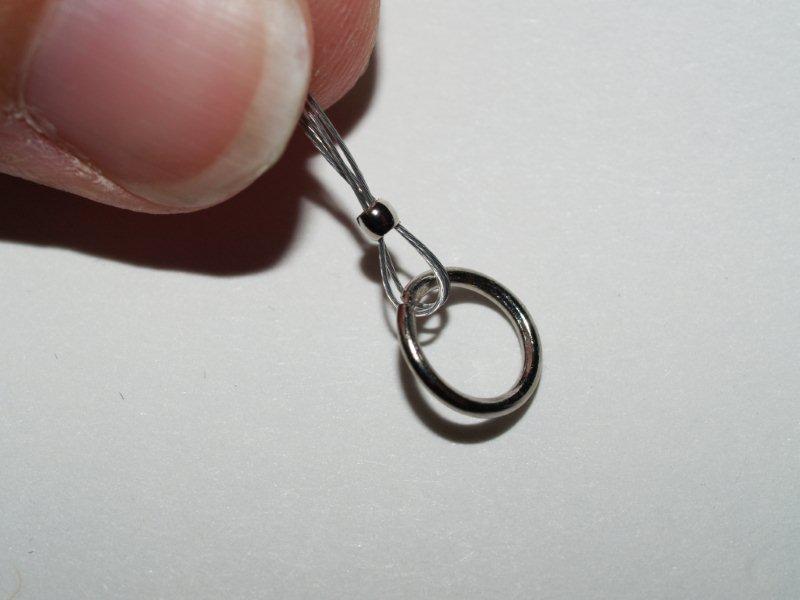
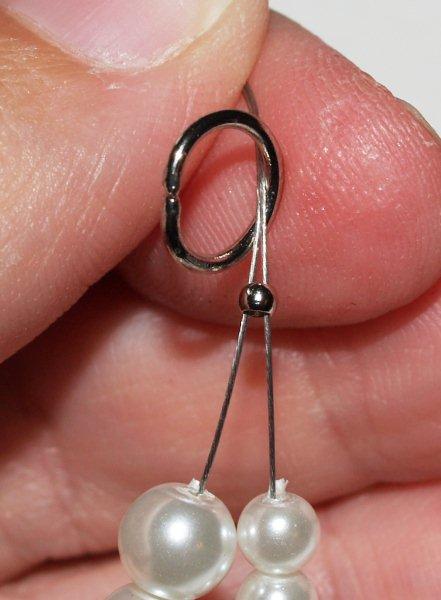
Thread one crimp bead onto both wires.
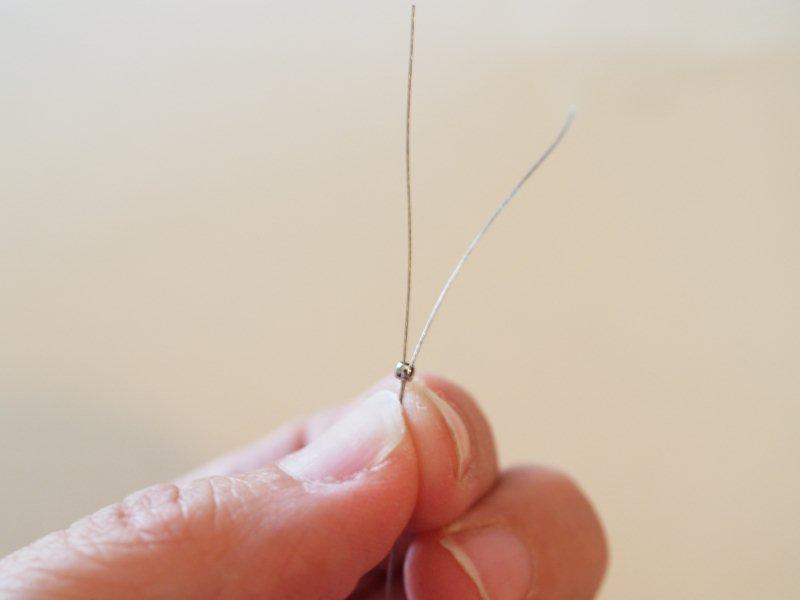
Thread a jump ring over both wires, then turn the wires and feed them back through the crimp bead. There should be about 1″ of wire fed back through.
Crimp your crimp bead tightly around the wires. I have a crimper tool for this – I think a pair of pliers might work too.
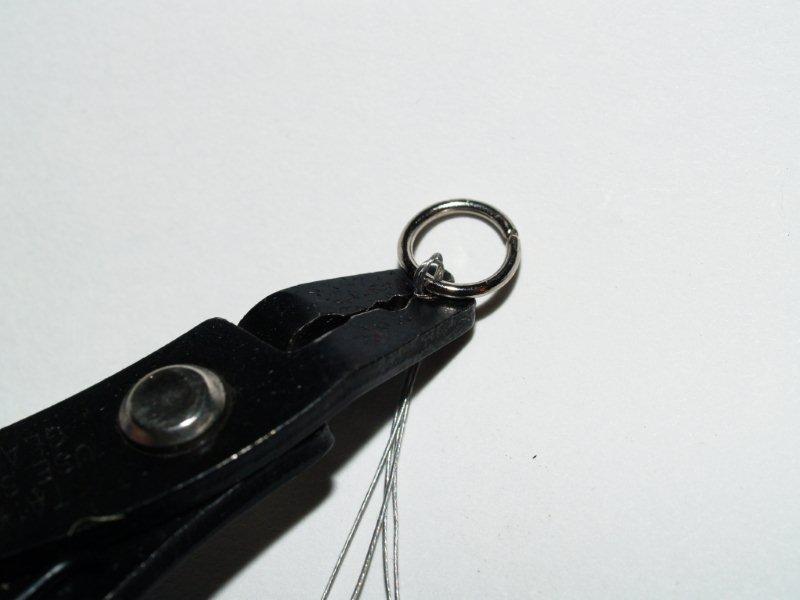
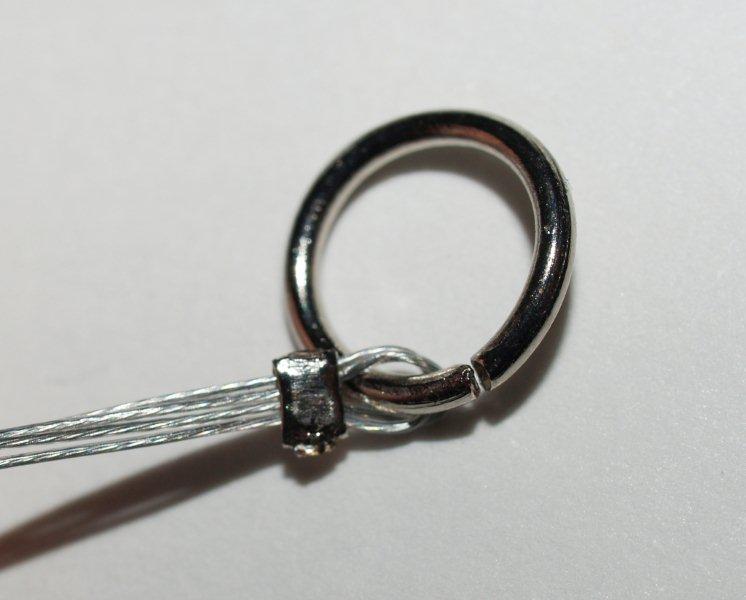
Now you have a nice flat crimp bead.
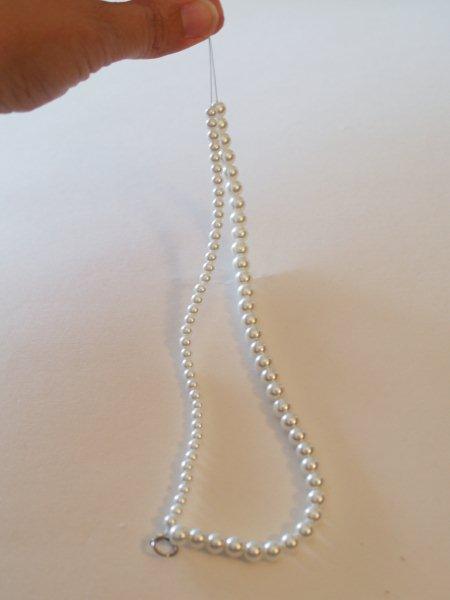
Start with the shorter wire and start threading on your smaller beads. At the end of the wire, feed them over the short wire and one of the 1″ wire pieces.
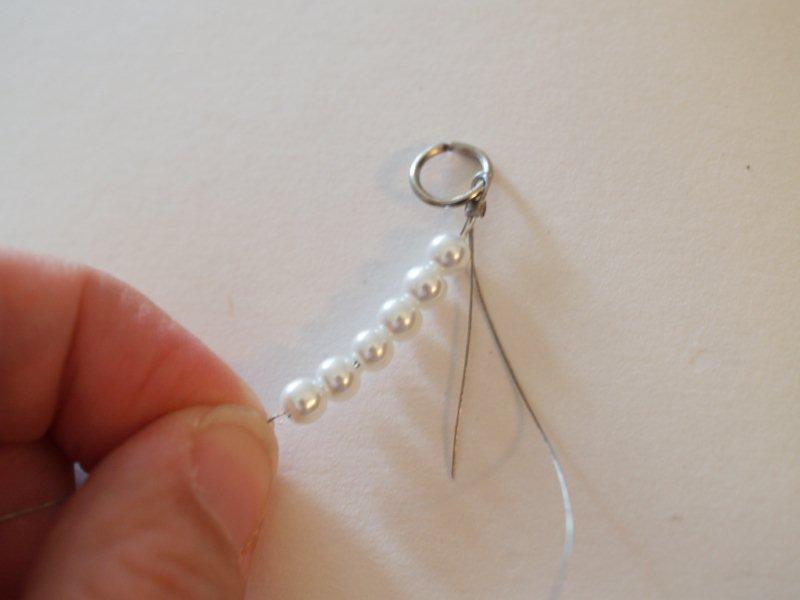
Keep threading until you have about 1″ of wire left.

Now repeat this process with the longer wire and the larger pearls. I will confess that to prevent the smaller wire from losing all it’s pearls, I held it in my teeth while I strung the other. There’s a mental image for you.
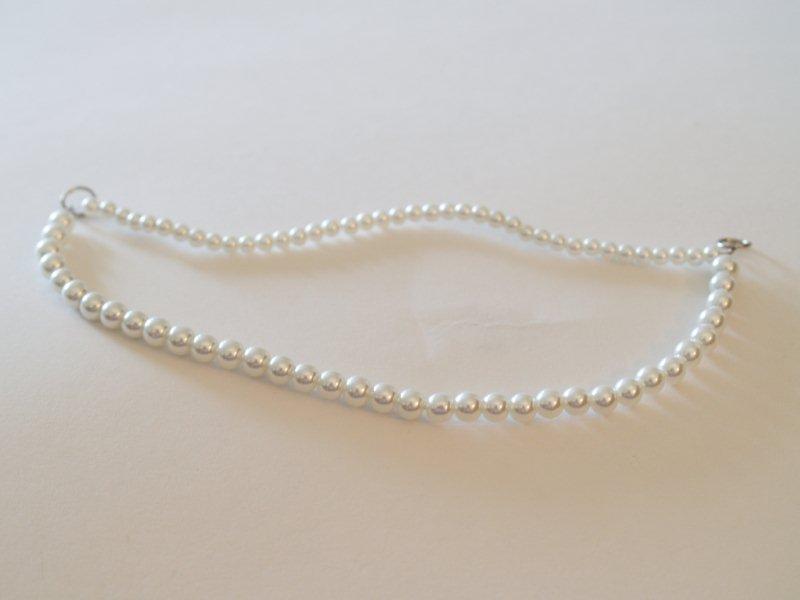
Thread your other crimp bead and jump ring on the ends and repeat what you did on the first side.
Thread the ends through the pearls so they are also tucked away.
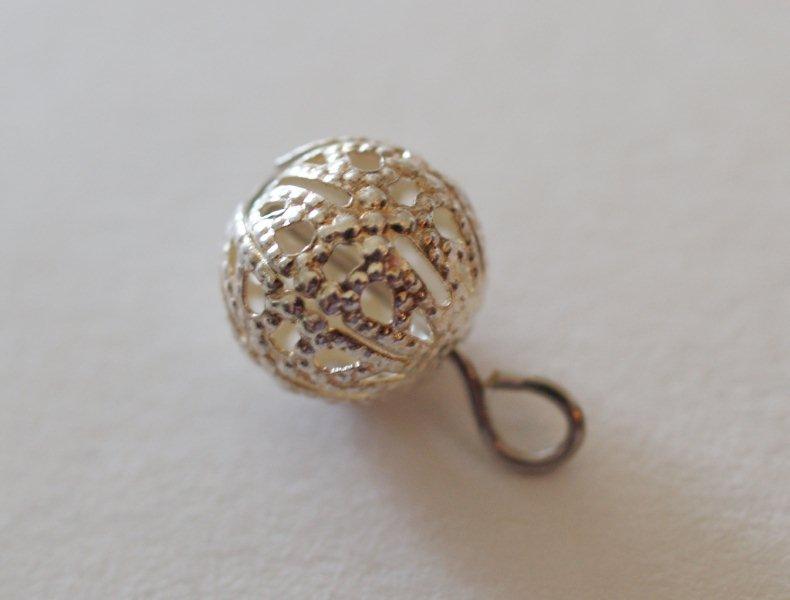
Here’s where I decided it needed a little sumpin’ sumpin’ – so I added two accent beads to one side. I threaded a bead onto an eye pin – basically a wire with a head on the end of it, and curled the other end into a loop.
I added these to the ring on one side. I added lace to each ring by knotting it and leaving a little end, then I tried it on to see the lenth I wanted. I tied the bow off center, so it would show, and trimmed the ends. Voila! All done!
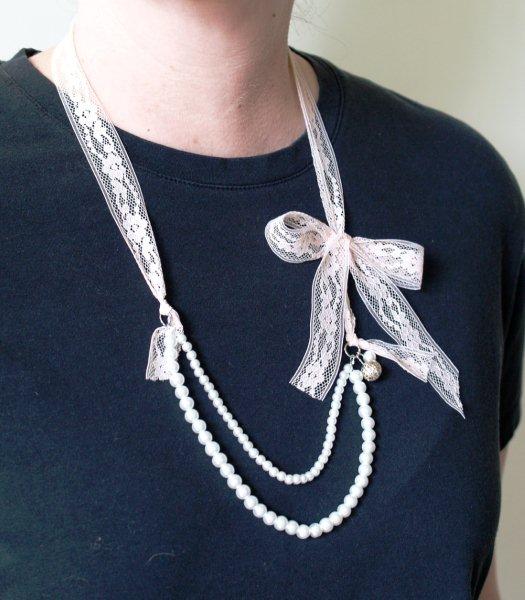
A closeup of the bow and beads –

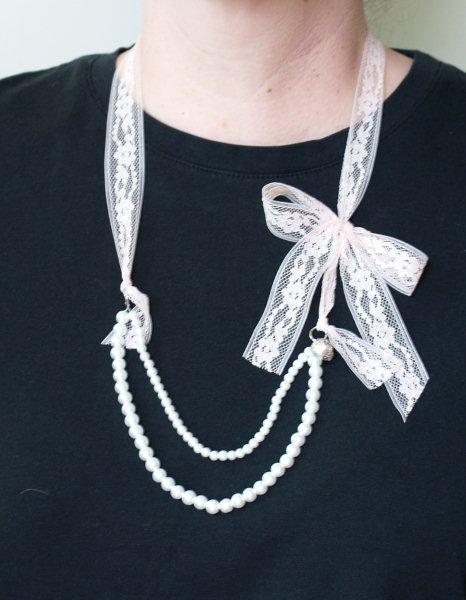
And me – so you can see it on. Pardon the chicken neck.
1 komentar:
This is really really like a hard compiegn to fine pearl necklacewhen you have too many choices to go, among a pool of styles its not easy to choose for yourself so I often have to go for this confusion but my problems solved when I visited the store pravins and I got a beautiful range over here.
Posting Komentar