Anthro Necklace Week Day 4!

In case you have not visited this week – it is officially Anthropologie Necklace Week! 5 Days of Tutorials ending in 5 Lovely Giveaways!!
If you need to catch up, here are Days 1, 2 a & 3. If you’re not a follower – maybe you should do that so you don’t forget to check in for Day 5. :)
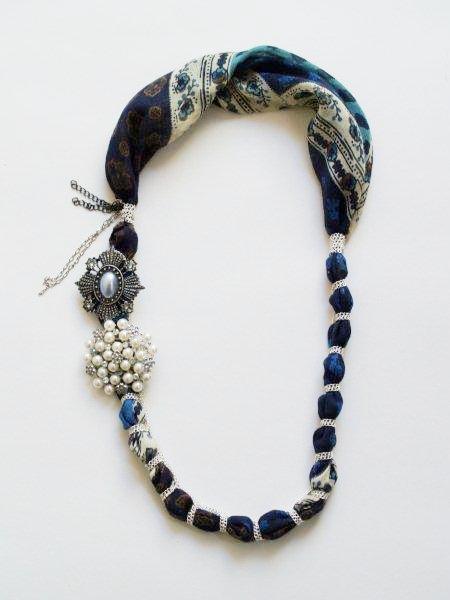
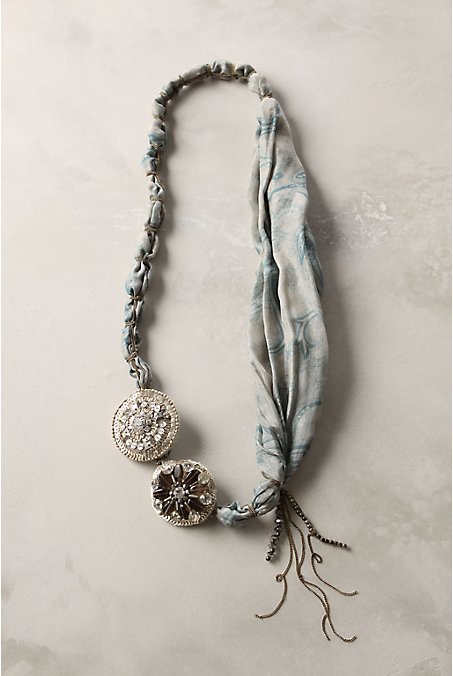
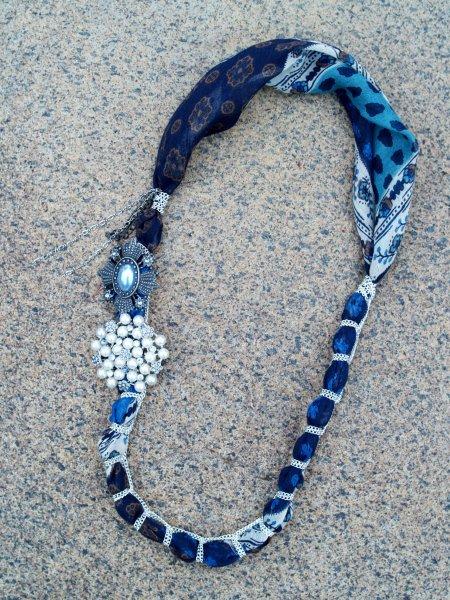
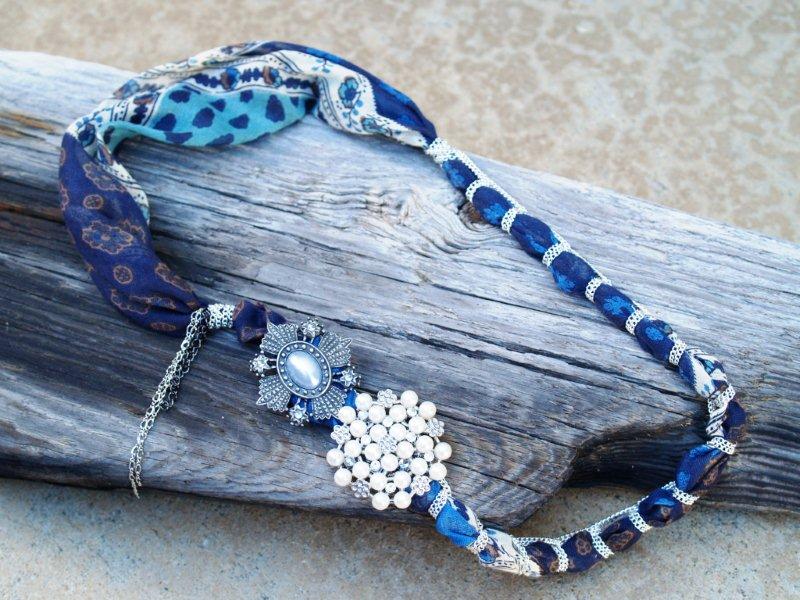
Today we are creating the Adorable Paisley Rebirth Necklace.
Where on earth do they come up with the names for these?? It is mystifying.
Here is mine:
And here is theirs:
This one is a blast to do.
I went with a little darker colors than they did because I just fell in love with the fabric in the scarf I found.
Here’s your handy dandy tutorial!!
Materials:
- Sewing Machine (you can hand sew it, it will just take longer)
Supplies:
- Scarf or lightweight fabric (you need enough for a 33″ x 12″ piece)
- Silver chain – 4 yards
- Small pieces of different chains
- 2 Large beaded pieces or pins (I bought these at Michaels)
- Needle and matching thread

Cut out your fabric – you need a 33″ x 12″ piece. I recommend you cut it out on the bias if you have enough fabric. It helps it lay nicer.
(The bias is a 45 degree angle from the selvage. It’s basically a diagonal cut.)
(The bias is a 45 degree angle from the selvage. It’s basically a diagonal cut.)
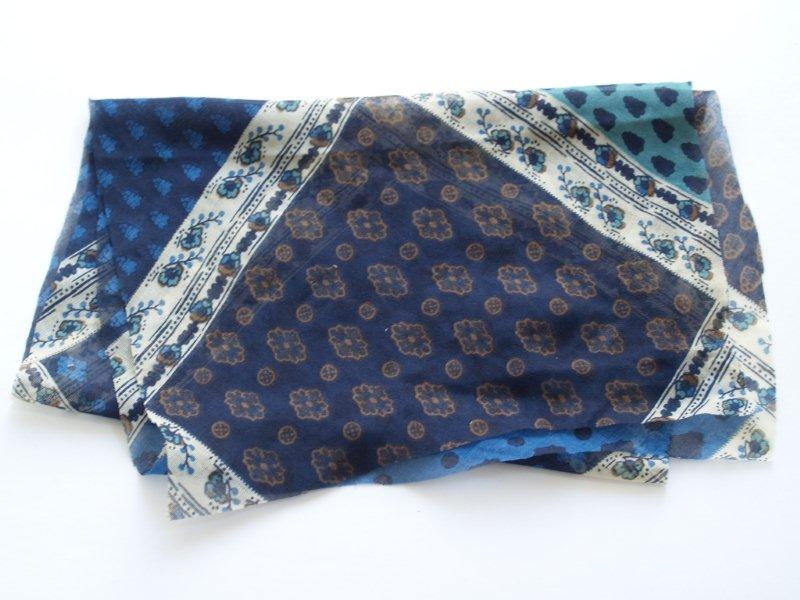
You can see that my fabric was pretty sheer. If yours is a thicker fabric you might want to cut down on the width of your rectangle. Try bunching it up. If it is pretty thick, I’d recommend a narrower rectangle.
With right sides together, sew the rectangle into a long tube. Turn right side out.

Turn the raw edges under and overlap them, making a circle. Sew. I did two rows of stitching to make sure it would hold.

It helps to lay out your circle in a necklace shape. Put the seam on the left, towards the top. Place a pin on the right side of the circle, about 1″ above the point across from the seam. That is where we will start wrapping.
Double up your chain so it is 2 yards long. You will work with the chain doubled as you go – treating it as one chain.
Begin with the halfway point.
Leaving that halfway point with a little space, wrap the chain around the fabric tube twice. Feed the other ends of the doubled chain through the halfway point loop and pull. Don’t pull super tight – you don’t want to stress the chain – but so that it is snug against the fabric.
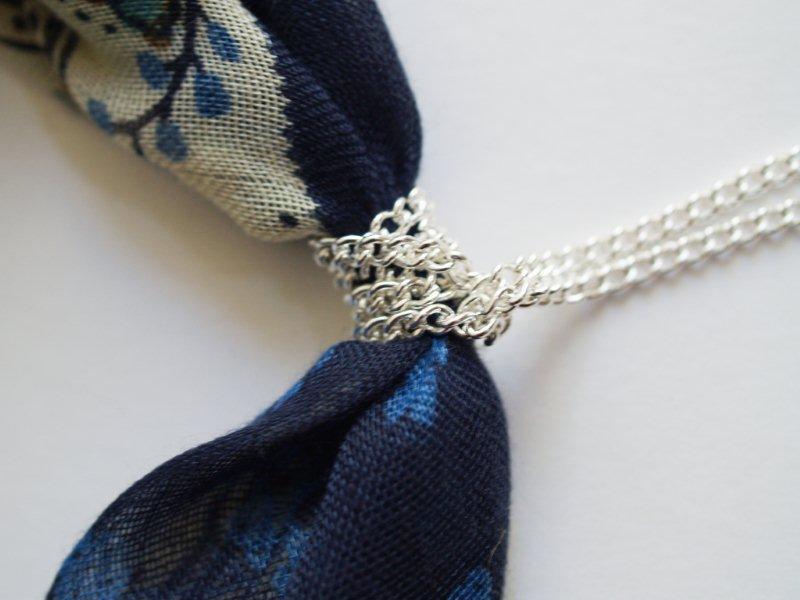
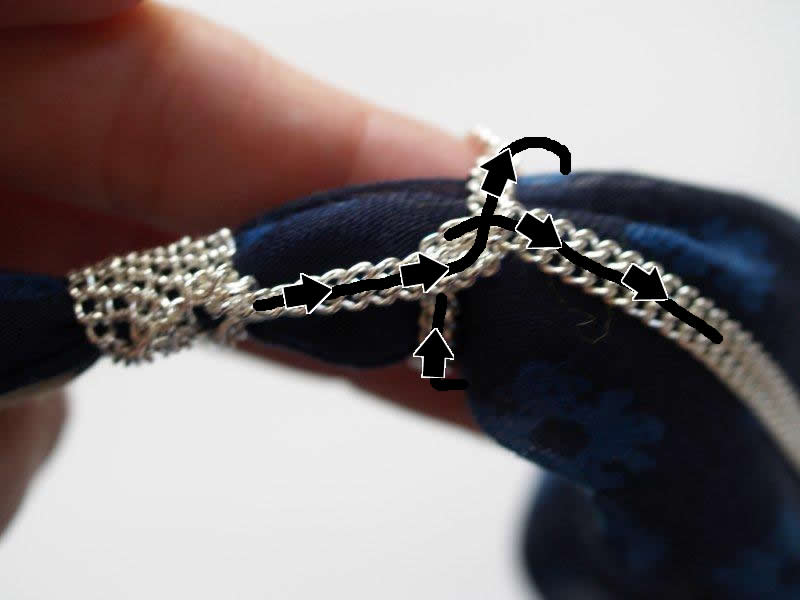
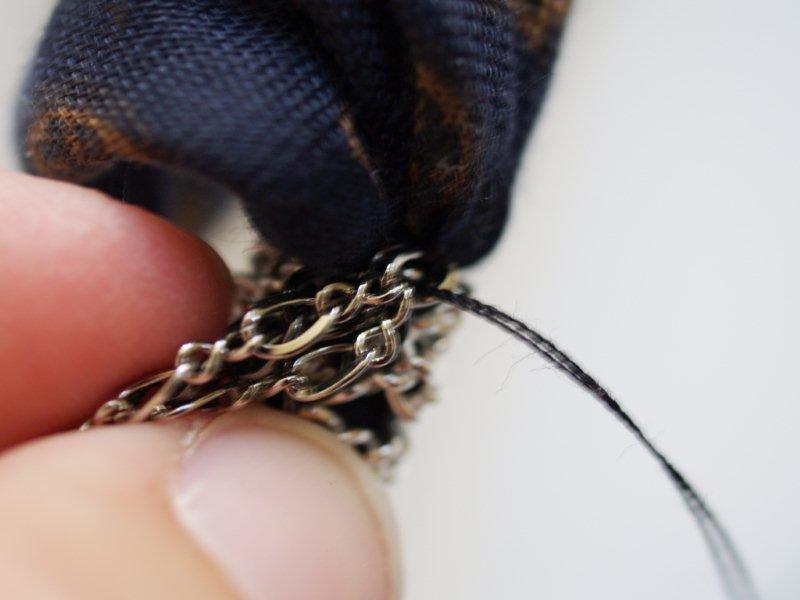
Lay the chain along the fabric for about an inch. Hold the chain at that point. Wrap the chain around the fabric tube. Bring the ends up and run them under the wrapped part and pull snug.
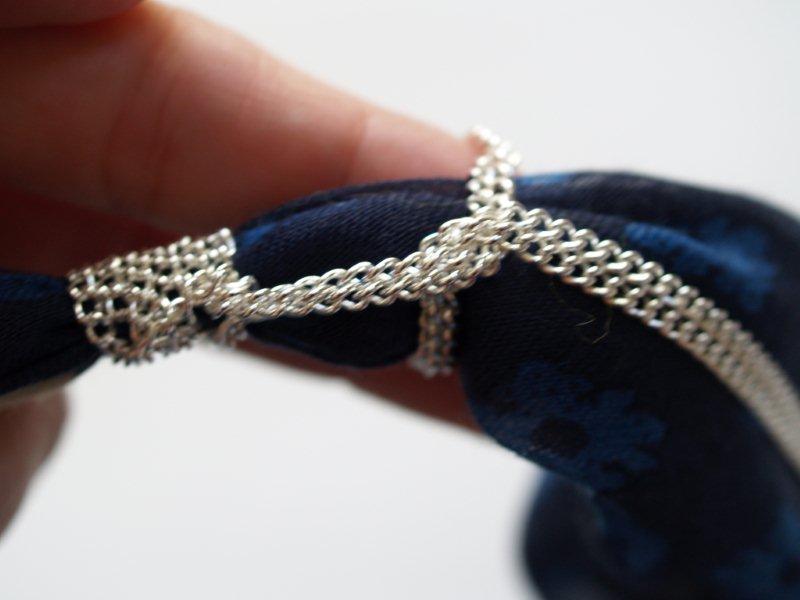
Here is a handy arrow drawing to illustrate. Don’t laugh.
Continue wrapping and looping around the bottom of the fabric tube. Keep the distance between loops the same, except for over the stitching line. That can be a bit longer.
When you get just above the stitching, wrap the chain around the tube four times.
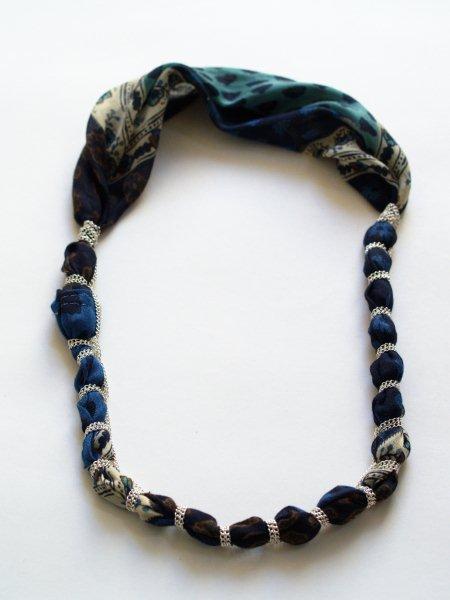
Sew down the end of your chains.
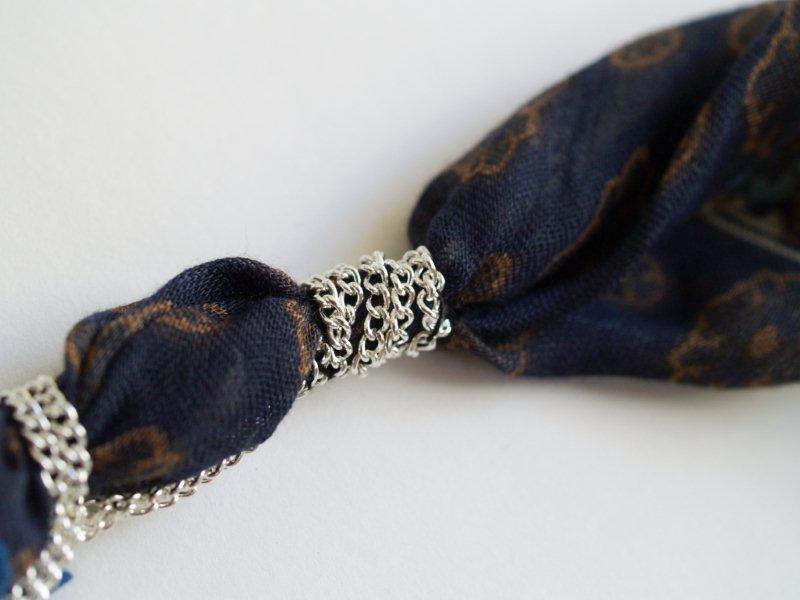
If you have chain leftover, trim it off.
Fold in half your two small contrasting chain pieces.
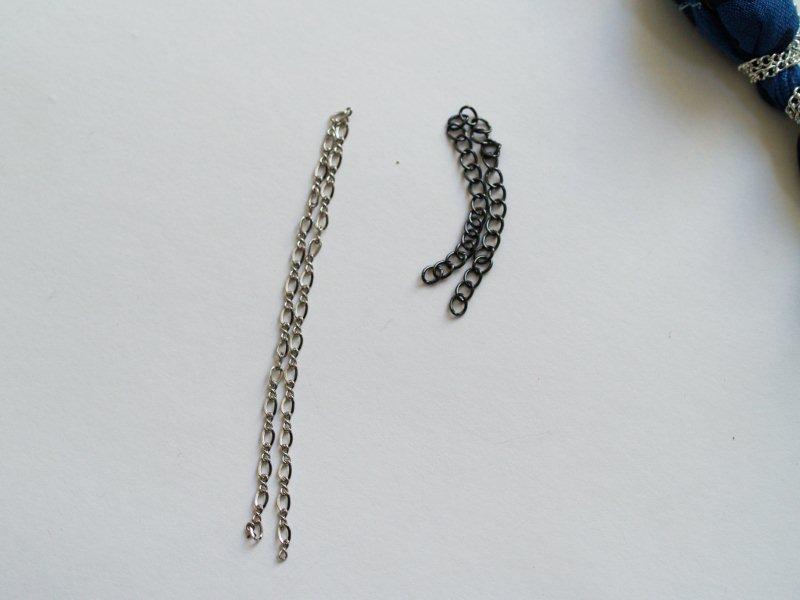
Sew the folded ends to the fabric tube at the top of your wrapped chain on the left side.
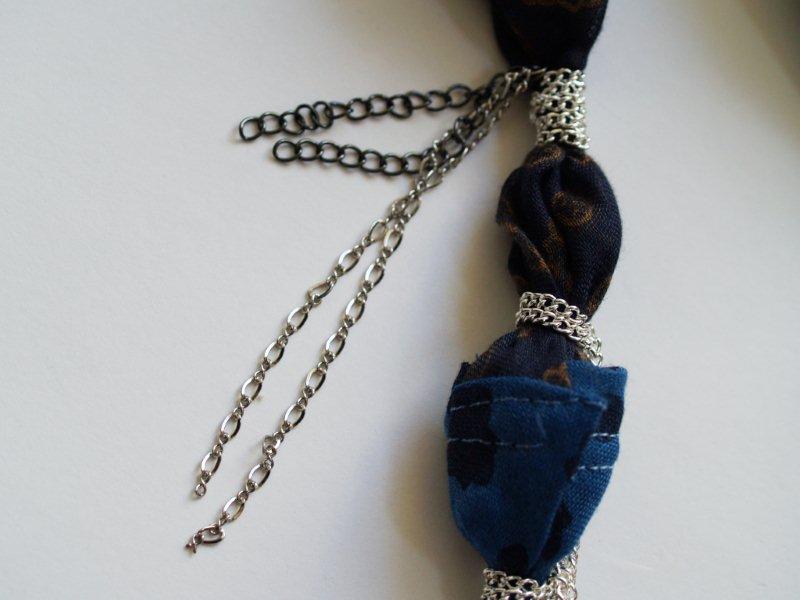
Sew on your large beaded pieces on the left side, making sure you cover up the seam. If you are using pins, you can just pin them on, but I’d recommend sewing these on as well, for stability.
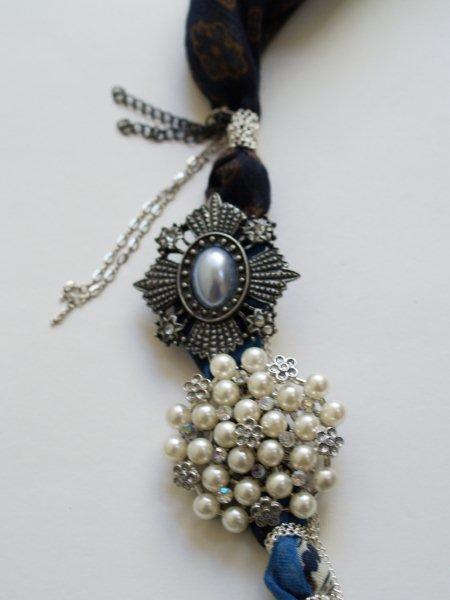
You have just created you own Paisley Rebirth Necklace!
Don’t you love it??

One more tutorial!! I’ll post the final tutorial Thursday Night. The Giveaway Posts will go up Friday morning – 6 am pacific time.
I’m doing 5 different giveaway posts – because the necklaces are so different. That way you can comment on the ones you like.
I can’t wait to hear what you think of this one. I want to keep it!
But I won’t. ;)
0 komentar:
Posting Komentar